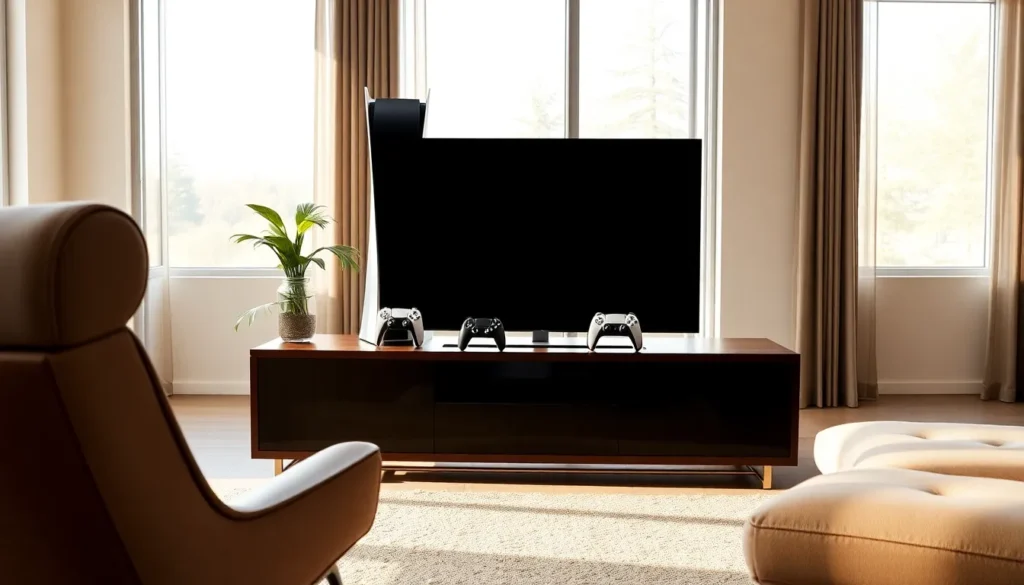

Getting your PlayStation 4 controller to connect can feel like trying to solve a Rubik’s Cube blindfolded—frustrating and confusing. But fear not! Pairing your controller is easier than finding the last slice of pizza at a party. With just a few simple steps, you’ll be back to gaming in no time, ready to conquer virtual worlds and impress your friends with your skills.
Overview Of PlayStation 4 Controller Pairing
Pairing a PlayStation 4 controller can seem daunting, but it’s a straightforward process. The initial step involves ensuring the console is powered on. Next, connect the controller using a USB cable to establish a wired connection. Both the controller and the PlayStation 4 can quickly detect the pairing command, making this step essential.
Once connected, press the PlayStation button located in the center of the controller. This action activates the controller, signaling the console to complete the pairing process. Indicators on the controller will blink initially before stabilizing with a solid light, confirming a successful connection.
If pairing fails, disconnect the USB cable and try the process again. Different controllers might respond to these steps variably, so persistence is vital. Players can also check for software updates on their console to ensure compatibility. Firmware updates might fix issues related to connectivity.
For wireless pairing, ensure no other devices are actively paired. Hold the Share button and the PlayStation button together until the light bar begins to flash. This step initiates Bluetooth discovery, allowing the console to recognize the controller as a new device. Utilizing the console’s settings, select “wireless controller” to connect each device seamlessly.
Every new pairing contributes to a more personalized gaming experience, enhancing control and responsiveness. Successful connection fosters improved gameplay, minimizing interruptions. Following these outlined steps leads to an effortlessly connected gaming experience.
Preparing Your PlayStation 4 Controller
Prepping the PlayStation 4 controller is essential for a seamless gaming experience. Start by ensuring the controller is ready for pairing.
Checking Battery Level
Confirming the battery level is crucial. An adequately charged controller enhances pairing success. Charge the controller using a USB cable and connect it to the console. Observe the light bar; a blinking light indicates charging. A solid light shows the controller is ready. Checking battery levels regularly can prevent interruptions during gameplay. Use a fully charged controller for optimal performance.
Ensuring Compatibility
Compatibility between the controller and console affects connectivity. A standard DualShock 4 controller works effectively with PlayStation 4 systems. Make sure the console’s software is up to date for the best results. Check for any compatibility issues if using third-party controllers. Reviewing the manufacturer’s specifications can help. Additionally, ensure a stable Bluetooth connection for wireless pairing. Recognizing these factors supports a smooth gaming experience.
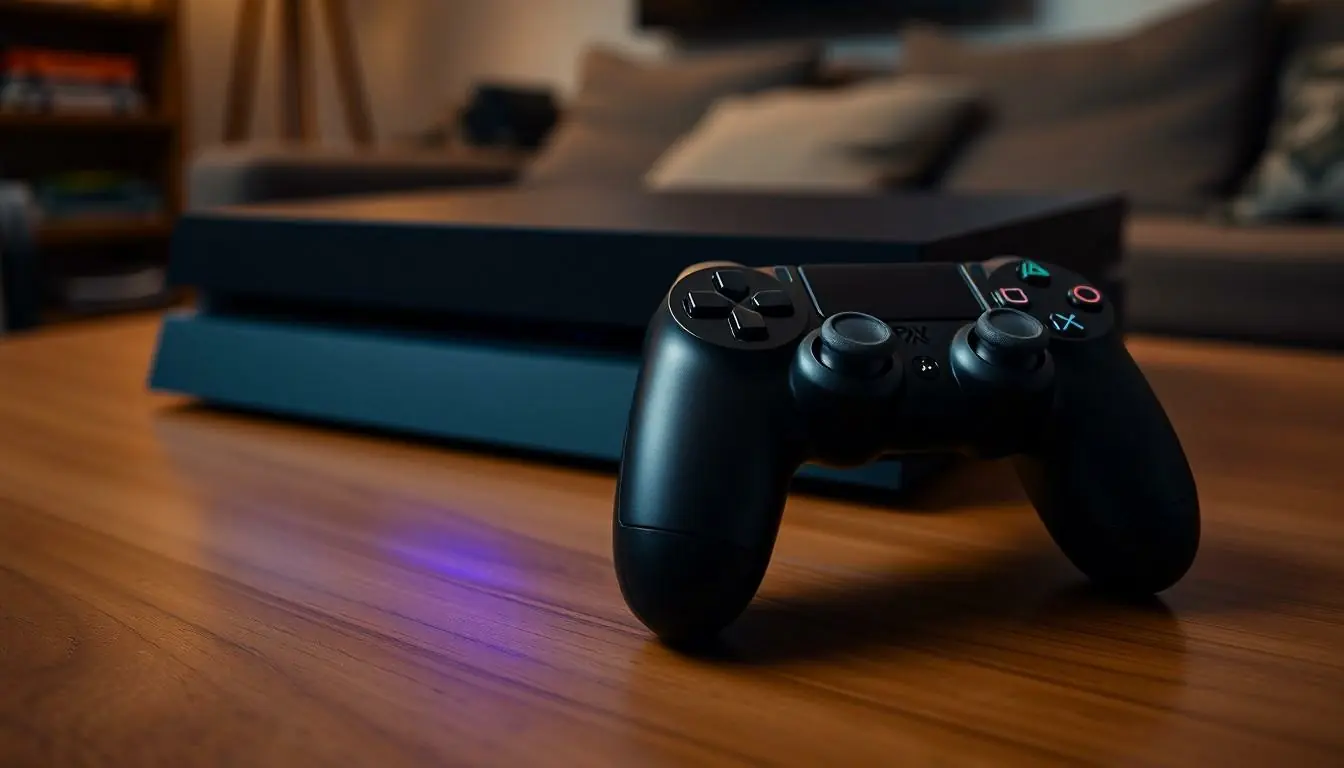
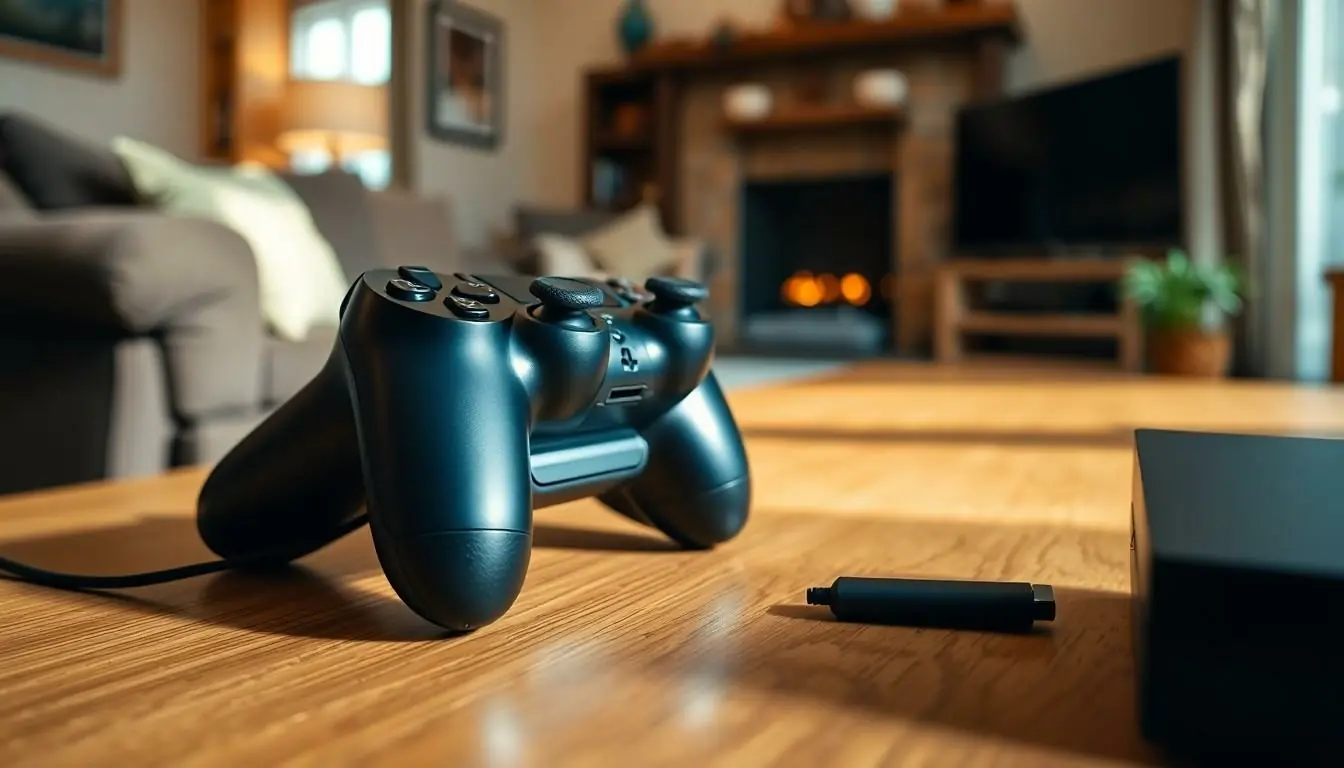
Pairing Via USB Connection
Pairing a PlayStation 4 controller using a USB connection is a simple process that allows for quick and reliable setup. Follow these steps to ensure a successful connection.
Connecting the USB Cable
First, locate a suitable USB cable, typically a standard USB to Micro-USB cable. Next, plug one end into the controller and the other into the PS4 console. The console should be powered on during this process for effective pairing. After connecting, the controller will automatically charge and establish a connection. It’s crucial to use an official or high-quality cable to avoid issues during the setup.
Syncing the Controller
To sync the controller, press the PlayStation button located between the analog sticks. The light bar will flash and eventually stabilize, indicating a successful connection. If no response occurs, try reconnecting the USB cable and pressing the button again. Ensuring that the console is updated can also improve syncing performance. Once the controller syncs, it remains linked to the console for future use without needing the cable.
Pairing Via Bluetooth
Pairing the PlayStation 4 controller via Bluetooth allows for a wireless gaming experience. Follow these steps to complete the process effectively.
Activating Bluetooth Mode
To activate Bluetooth mode, the controller needs to enter pairing settings. Start by ensuring the console is on. Press and hold the PlayStation button and the Share button simultaneously. Continue holding both buttons for a few seconds until the light bar begins to flash, indicating it’s in pairing mode. This flashing light signals that the controller is ready to connect with nearby devices.
Finding the Controller in Settings
Finding the controller in the settings requires accessing the Bluetooth menu on the PS4. Navigate to the Settings option from the PS4 main menu. Choose Devices, then select Bluetooth Devices. The PS4 scans for nearby Bluetooth devices. Once the controller appears on the list, select it to initiate the pairing process. Confirm the connection prompts, and the controller will be ready for use.
Troubleshooting Common Issues
Pairing a PlayStation 4 controller might present challenges. Troubleshooting common issues can resolve most problems quickly.
Connection Failures
Connection failures often occur due to a few primary reasons. Ensure the console is powered on and the USB cable is properly connected. If the light bar on the controller doesn’t illuminate, a dead battery might be the culprit. Reconnecting the USB cable can help establish the link. If the connection fails repeatedly, checking for updates on the console may be necessary. Additionally, confirm that other Bluetooth devices aren’t interfering with the connection process. A stable environment typically enhances the likelihood of successful pairing.
Controller Not Responding
A non-responsive controller can disrupt gameplay significantly. First, check that the controller is adequately charged. A dead battery results in no input functionality. Confirm the charge level by connecting the controller to the console via a USB cable. If the device remains unresponsive, pressing the PlayStation button might prompt a response. Resetting the controller using the tiny button located at the back can also help restore functionality. Lastly, ensuring the console’s software is up-to-date can prevent compatibility issues.
Conclusion
Successfully pairing a PlayStation 4 controller can transform the gaming experience. By following the outlined steps for both wired and wireless connections, gamers can quickly reconnect and dive back into their favorite titles. It’s essential to ensure the controller is charged and compatible with the console to avoid any interruptions.
With a few straightforward troubleshooting tips, users can overcome common pairing challenges. Keeping the console updated and maintaining a stable Bluetooth connection further enhances performance. By mastering the pairing process, players can enjoy seamless gameplay and fully immerse themselves in their gaming adventures.